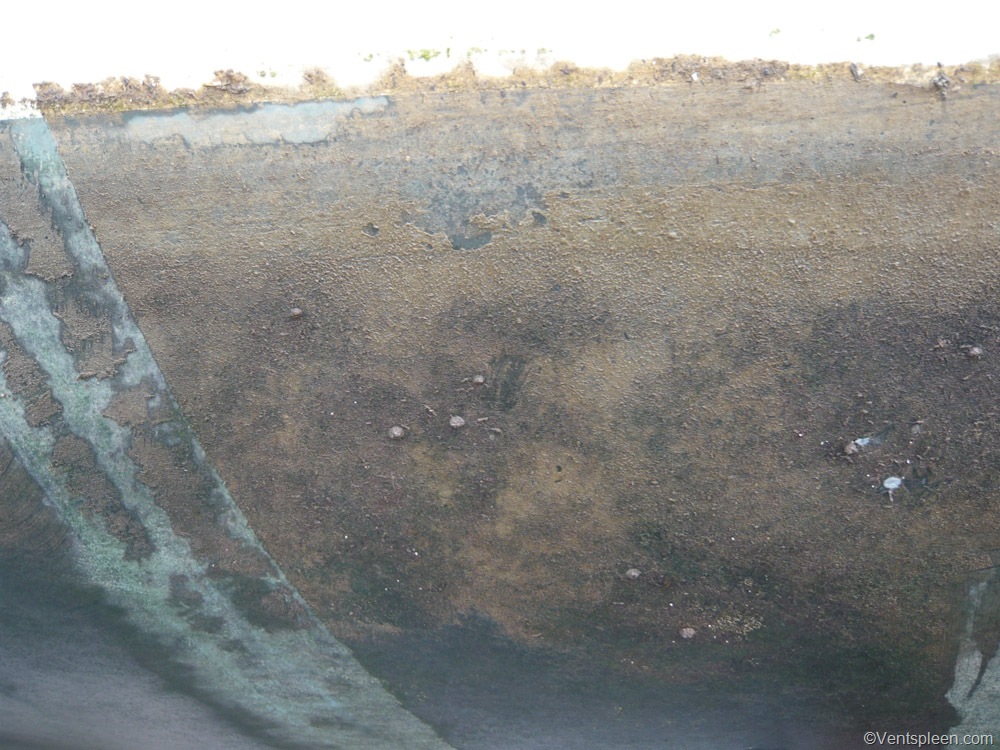
The people over at ventspleen.com have posted a very good summary of their experience with coppercoat antifouling. This was something I was looking at useing on my last haulout but decided against it. I'm useing Altex #5 copper ablative paint and dived on the boat yesterday (after 7 months in the water) and other than a little slim at the waterline, my hull remains clean with no need to scrub/clean. The article continues below.....
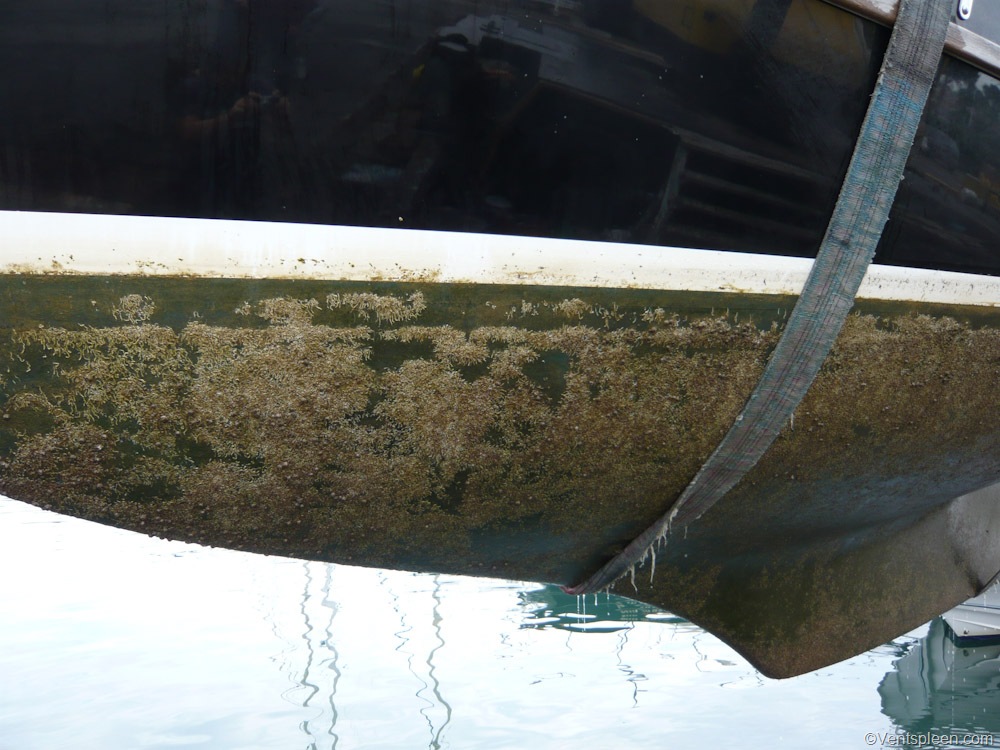
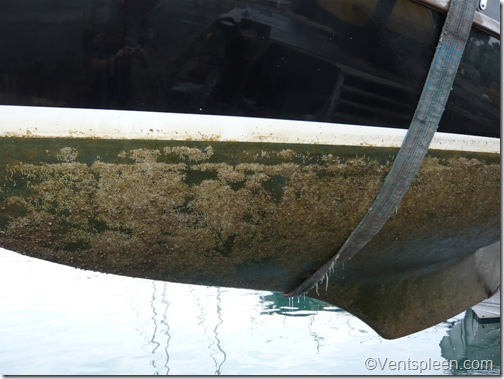 This is how my hull looked when I hauled it this year. This could never be described as working well.
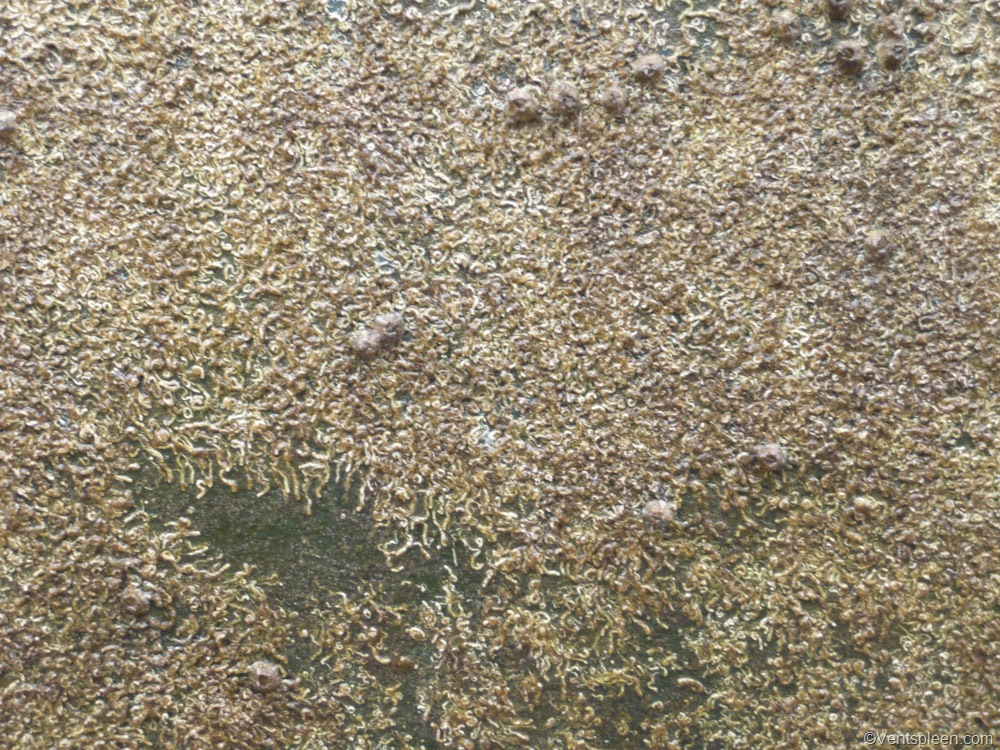
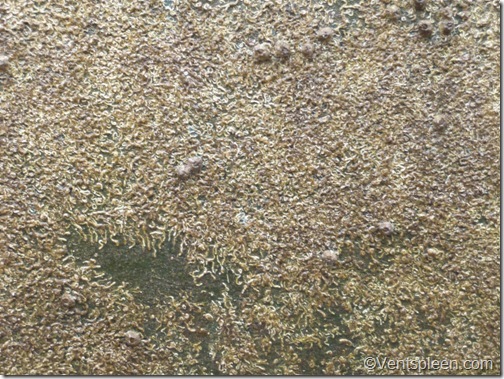 Here is a close up of a typical area of the hull. Covered in growth and barnacles. Even the cheapest antifouling paints work better than this! It has to scraped off with much effort by hand.
It seemed like such a good idea, an antifouling that you apply once and then forget about it for ten years or more. When I bought my new boat I decided to try it.
Cost wise it costs about 100 Euros a litre. A small boat of about 25 feet might use 6 litres. It’s a little more complicated than this as you will have to lift the boat twice to be able to get at the areas where the boats rest on the pads of the cradle and that will cost a bit more. You need to wait a few days before launching so expect a week ashore.
It is water based so it’s easy to clean up. Basically it consists of a resin and a hardener which come in half litre packs. They are mixed together and then pure copper powder is added to the mix. The Coppercoat is rolled on coat on coat until it’s all gone. Normally you need about 5 or 6 coats for a good result. The finished result is a lovely copper colour which soon goes green as the copper in the epoxy becomes exposed.
There have been a lot of reports about how effective Coppercoat is as an antifouling, often out performing the best ablative paints. On some boats it’s still working well after 14 years! Over 30,000 boats have been coated with it over the years which must say something. I was very keen to try it as it is better for the environment than paint and in theory at least should save money and time in the long run.
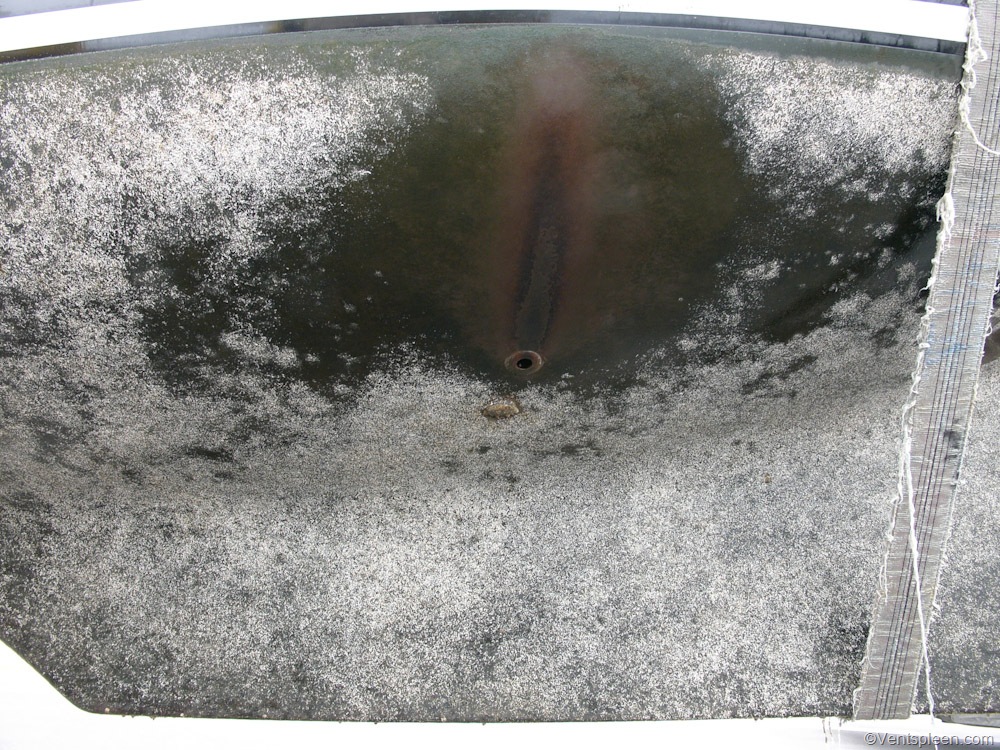
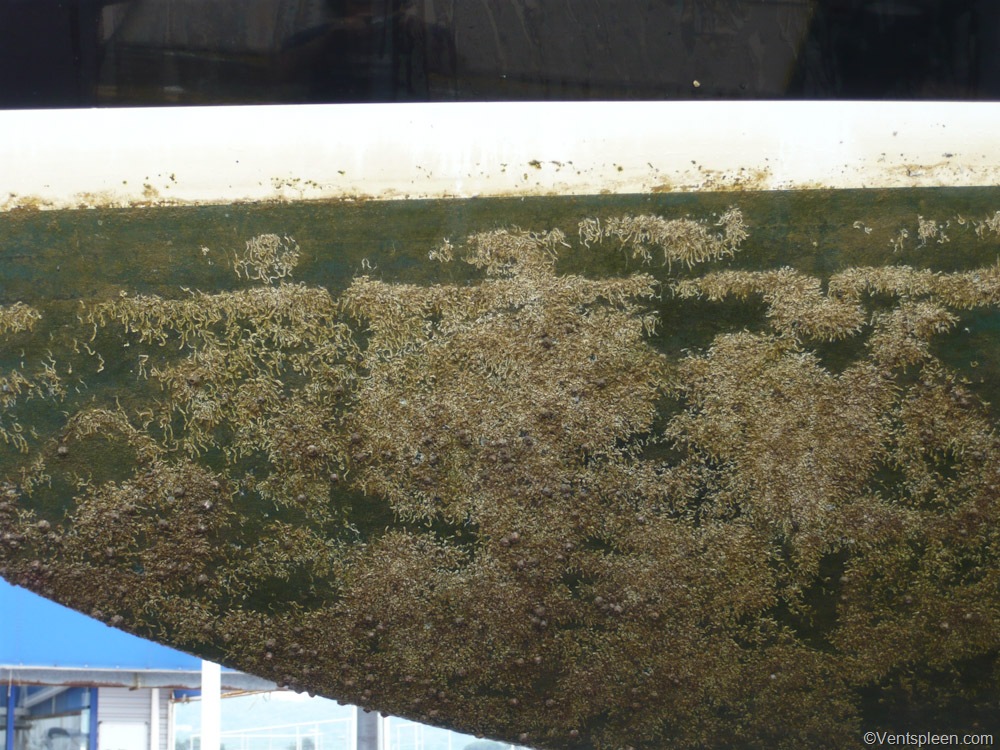
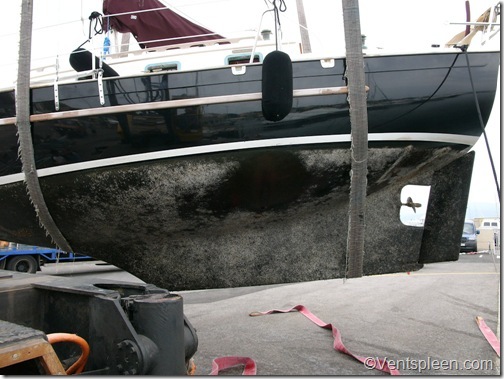 This is how the hull looked after one year. The only clean area on the hull is above the galley sink outlet where fresh water comes out.
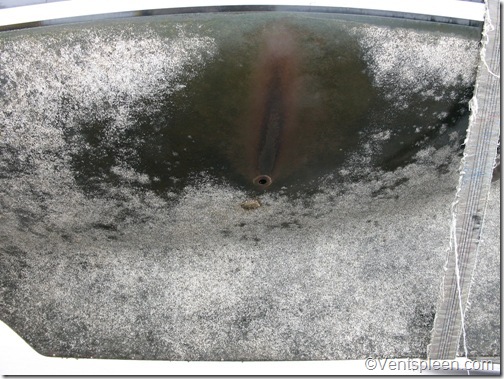 Here’s a close up. The hull is completely fouled.
I must confess that I have not been impressed with Coppercoat on my boat and I have talked to them about it but all they say is that not enough copper has been exposed and to sand it down. I have tried this approach various times on certain areas on the hull to see if it would make a difference. It did not.
I tried waiting to see if the natural wear of the epoxy would expose more copper in time but in the 6 years it has been on the boat, it has only performed well for one of them.
It’s not like the boat isn’t used either and just sits in a marina, every year it is moving and sailing for at least 4 months at a time but even when we are sailing we have to dive down on the hull and scrub it to keep it clean.
As you can see from the pictures the fouling is bad and even the cheapest antifouling paints work better than this.
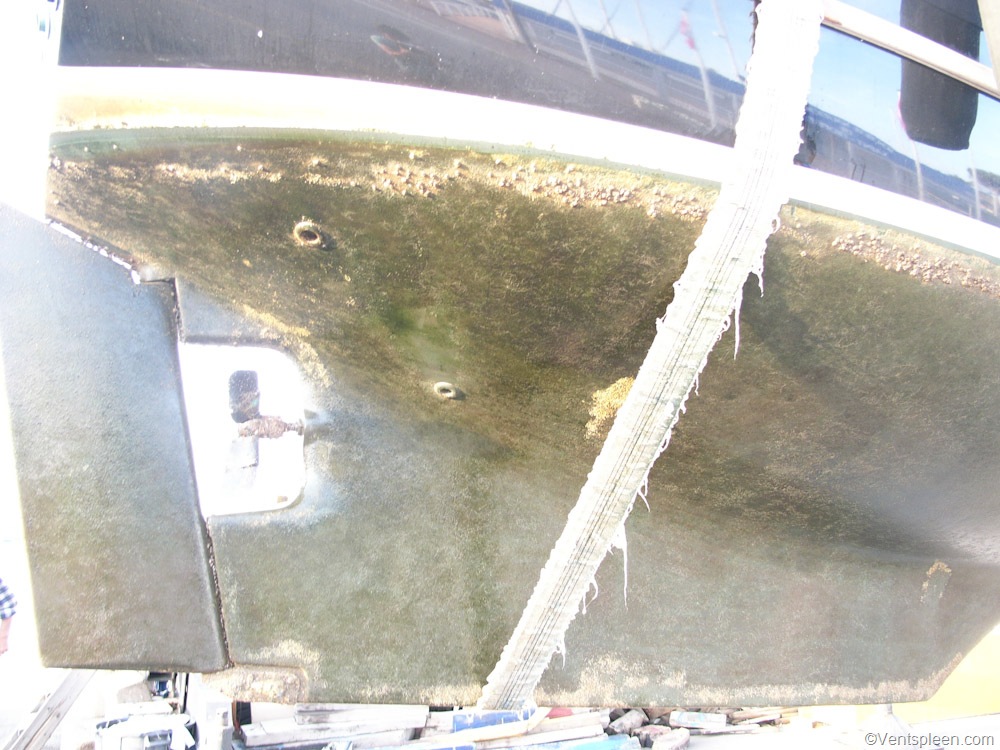
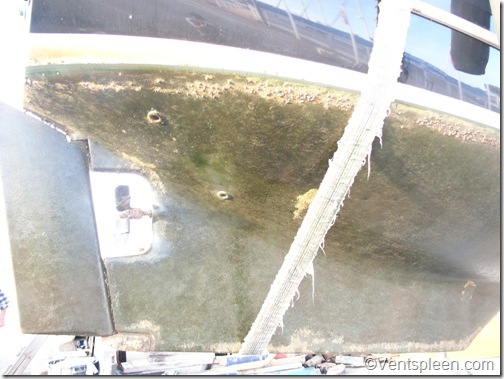 This was the boat after three years. Marginally better but still pretty poor overall. Also consider that we dive on the boat regularly and scrub the hull as well.
On the plus side, I don’t have to paint the boat every year but on the down side the Coppercoat just doesn’t work very well. After last year when the boat was clean, I had hoped that finally the Coppercoat had started to work but when I hauled the boat this year I was disappointed to see that the fouling was as bad as it had ever been.
One has to question the benefits of using Coppercoat if it doesn’t stop fouling. Although it might be better for the environment it’s not keeping my bottom clean and this means that when I motor I am using more fuel and that is bad for the environment!
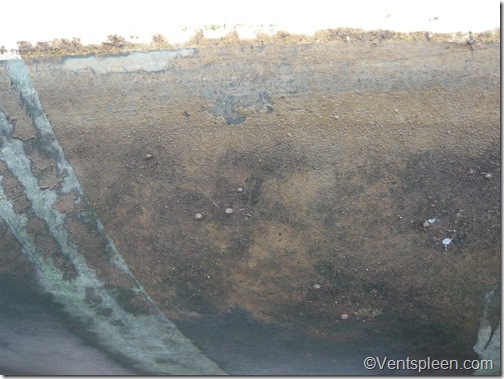 This is the Coppercoat after five years. At last, I thought it was working well with only a covering of slime and a handful of barnacles. Compared to how it worked in the previous years it was very clean. The following year it was worth than ever.
Over the years I have recommended and applied Coppercoat to quite a few boats but only one of them has remained fairly clean, all the others have reported merely average efficiency and have told me that they wouldn’t apply it again. One of my customers was so unhappy with it that he simply overcoated it with normal antifouling paint. I haven’t heard from him since.
Another issue with Coppercoat is that it cannot be applied to existing paint so you’ll need to strip that off if you do want to use it and this will also add to the cost. Now that I have seen how Coppercoat performs over the years on mine and other’s boats I would no longer recommend it to those who need to strip their old paint off first. It might be worth putting on a new boat but there is no guarantee that the product will stop fouling.
It hasn’t worked for me and the best Coppercoat can do for me is offer the product at cost so I can try again but doing this would leave me seriously out of pocket what with boat lifting, boat storage and the fact that I would have to take time off work to do it. And at the end no guarantee than it would work any better than it has been.
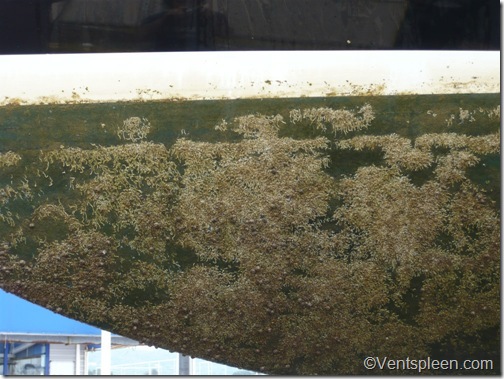 The state of the hull this year. The crane driver said it was the dirtiest boat he had seen this year.
The bottom line is that I am very disappointed with Coppercoat. I am pleased that on the one hand that I do not have to pollute the environment by painting my boat every year but on the other hand my bottom is constantly fouled and that slows me down and costs money in extra fuel.
After this disappointing experience I very much doubt I will be using Coppercoat again. The biggest disappointment comes from the lack of support from Coppercoat who keep reminding me about all the other customers of theirs who are happy with their Coppercoat. If they really believed in their product they would make it work for me the way they claim it works for others. It should not be me that has to buy the product and pay to have it reapplied.
It’s a real shame, I really hoped Coppercoat would have been the answer to keep my hull from fouling and at the same time reduce my impact on the environment but it hasn’t worked out like that for me or anyone else I know. Perhaps you know someone who is happy with their Coppercoat, I have yet to meet someone who is…..